
How to jump start a car battery: Symptoms, Causes & Quick Fix
If your EV clicks, won’t unlock, or shows dead screens, the 12V auxiliary battery is almost certainly the culprit. Unlike the main high-voltage pack, this small battery can drain even when the car is parked. Here’s exactly how to jump-start an EV’s 12V battery safely, plus what to do if it keeps dying.
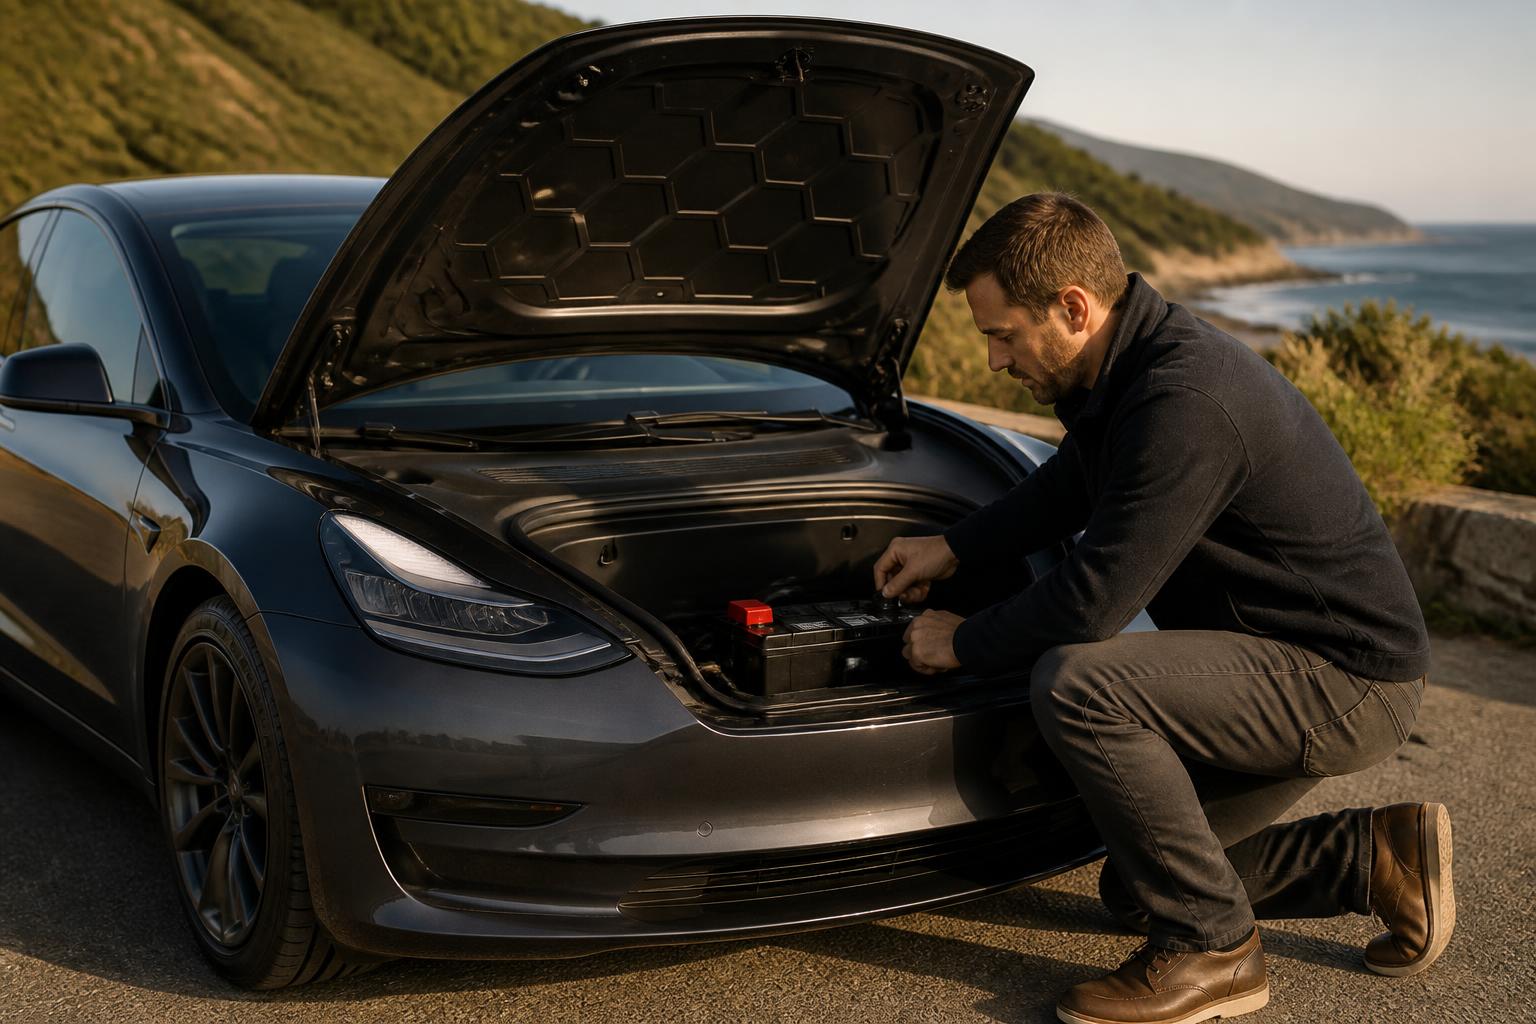
Locate the 12V battery terminals on your EV
EVs don’t have a traditional engine bay with easy battery access. Each model stashes its 12V battery in a different spot, and you often need to open the frunk or bumper cover first — which is tricky when the battery is dead.
Common locations:
- Frunk (front trunk): Tesla Model 3, Model Y, Ford Mustang Mach-E, Chevrolet Bolt. The battery sits under a plastic cover inside the frunk.
- Under the rear seat or trunk floor: Hyundai Ioniq 5, Kia EV6, Nissan Leaf, Volkswagen ID.4.
- Behind a bumper panel or tow-hook cover: Some EVs (e.g., older Tesla Model S before 2021) hide jump-start posts behind a removable cover on the front bumper. Look for a small square panel near the tow hook.
How to open the frunk with a dead battery:
Most EVs have a mechanical release. In a Tesla, pull the frunk release cable located behind the front bumper cover (accessible through a small removable panel near the tow hook). In a Mach-E, use the manual key hidden inside the key fob to unlock the driver’s door, then pull the frunk release lever inside the glovebox. Check your owner’s manual for the exact location — it varies.
Jump-start terminal locations (not the battery itself):
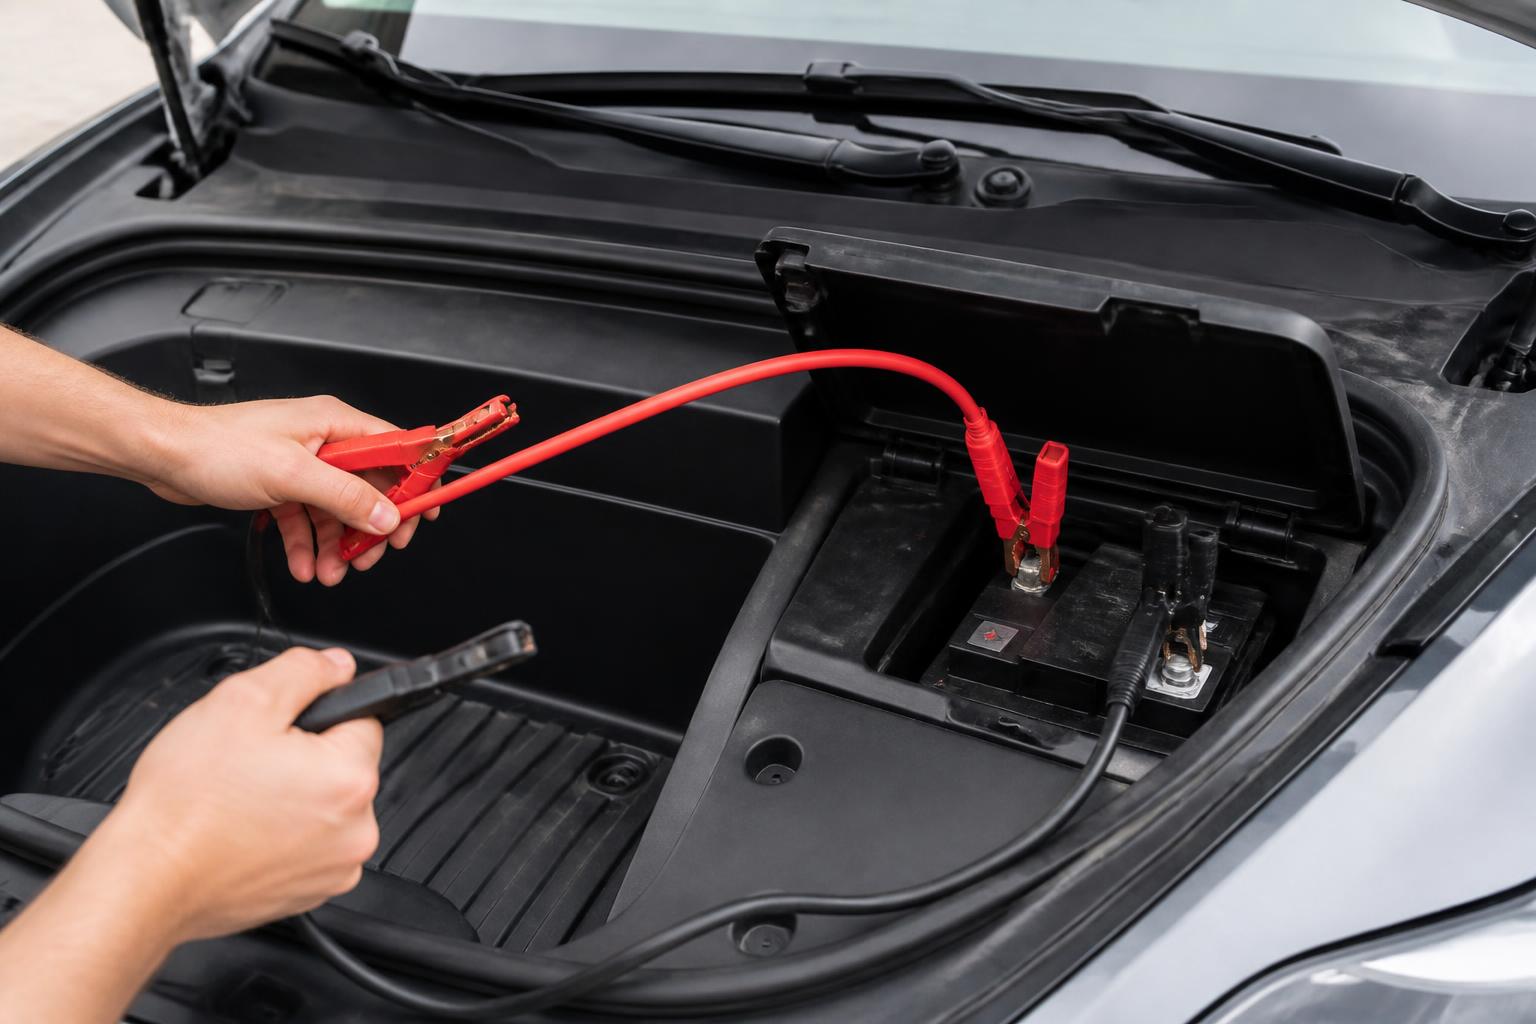
Many automakers provide remote positive (+) terminals under a red plastic cap, with a bare metal grounding point nearby. Never connect a jumper cable directly to the battery’s negative terminal on an EV — use the dedicated grounding post.
How to jump start your EV’s 12V battery
You can use a standard 12V donor vehicle (gas or electric) or a portable lithium jump pack. Do not attempt to jump-start the high-voltage traction battery — that is a different, dangerous procedure.
1. Position the donor vehicle close enough for cables to reach but not touching. If using a jump pack, ensure it has enough cold-cranking amps (CCA) for your EV’s 12V battery (typically 300–600 CCA).
2. Turn off the donor vehicle and remove its key (or the jump pack).
3. Locate the EV’s positive jump post (usually under a red cap in the frunk or bumper). Connect the red clamp of the jumper cable to this post.
4. Connect the other red clamp to the donor vehicle’s positive battery terminal (or jump pack positive).
5. Connect the black clamp to the donor vehicle’s negative terminal (or jump pack negative).
6. Connect the remaining black clamp to the EV’s designated grounding point — never directly to the 12V battery’s negative terminal. Look for a shiny metal bolt or unpainted chassis point near the positive post.
7. Start the donor vehicle and let it idle for 2–3 minutes (or turn on the jump pack).
8. Attempt to start the EV — press the brake and hit the Start button. If it doesn’t respond, wait another minute and try again. Once the EV’s electronics wake up, the DC-DC converter should begin recharging the 12V battery from the main pack.
9. Branch: what if the EV still doesn’t respond? If after 3 minutes of charging the dash remains dark or you only hear a single click, check that all connections are tight and that the donor vehicle is running. If you’re using a jump pack, confirm its output is active (some packs have a manual boost button). If the EV still won’t power on, the 12V battery may be so deeply discharged (below ~10V) that the BMS won’t allow charging — or the battery has an internal short. In that case, replacement is the only reliable fix.
10. Disconnect in reverse order: remove the black clamp from the EV first, then the donor black, then red from the EV, then red from the donor.
Important safety caveat: If your EV has a LiFePO4 12V battery (common in newer Teslas and some Hyundai/Kia models), use a jump pack that supports lithium chemistry. A standard lead-acid jump pack may deliver too high a voltage and damage the battery management system. Check the owner’s manual for the correct 12V battery type.
Why EV 12V batteries die differently
EV 12V batteries fail more often than in gas cars — not because of a bad alternator, but because of how the DC-DC converter charges them. The 12V battery is constantly cycled between charge and discharge as the car wakes up for telematics, software updates, and climate pre-conditioning. If the main pack is low on charge, the DC-DC converter may not keep up, leading to a slow drain.
Common causes:
- Extended parking with low traction battery (<20% SOC) — the car may stop charging the 12V battery to save main battery energy.
- Parasitic drain from aftermarket accessories (dashcams, phone chargers left plugged in).
- Faulty DC-DC converter — requires dealer diagnosis.
- Old battery — EV 12V batteries last 3–5 years typically, less in hot climates.
Bulletin Note: Dealerships are instructed to run a Battery Maintenance Report before warranty replacement. If they skip it, coverage can be denied (GM Bulletin 20-NA-132). If you’re under warranty, insist on a proper test before paying out of pocket.
Quick checklist before you jump start
Use this pass/fail check to avoid mistakes:
| Check Item | Pass | Fail |
|---|---|---|
| 1. Confirm the 12V battery is the problem (no dome lights, clicking only) | Yes | If headlights are bright, it may be a high-voltage issue |
| 2. Know your EV’s 12V battery type (AGM or LiFePO4) | Yes | Use only a compatible jump pack for LiFePO4 |
| 3. Locate the positive jump post and grounding point (check manual) | Yes | Don’t guess — guessing can cause sparks |
| 4. Ensure donor vehicle or jump pack is off before connecting | Yes | Risk of arcing |
| 5. Confirm cable polarity at both ends before connecting | Red to positive (+) on both sides | Reversed leads can fry the EV’s electronics |
| 6. Grounding clamp connected to EV’s designated point, not battery negative | Yes | Connecting to battery negative can trigger airbag errors |
Success check: your EV starts but the 12V battery may still be weak
Once the EV powers on, the DC-DC converter will take over. Drive for 30 minutes or plug into a Level 1/2 charger to give the 12V battery a proper top-off. To confirm the charging system is working, use a multimeter or the car’s service menu to measure the 12V battery voltage while driving. A healthy system will show 13.0V–14.5V. If you see 12.5V or below while the car is on, the DC-DC converter may not be charging — a dealer visit is needed.
If the car starts again normally the next day, you’re likely fine. If it dies again within a few days, the battery needs replacement. This is the most reliable signal: a good battery that was only deeply discharged once will recover; a failing battery won’t hold a charge for more than a couple of days.
When to replace the 12V battery:
- Voltage reads below 12.0V after a full charge (check with a multimeter after the car has been off for at least an hour).
- The battery tester shows “Unable to rate” or “Replace” — this often happens when the charge state is too low for the tester to calculate a reliable result (below ~12.0V), but still indicates the battery is no longer healthy.
- The battery is older than 4 years and has been deep-cycled multiple times.
Replacement must match the OEM chemistry: AGM for most EVs, LiFePO4 for newer Teslas and some 2024+ models. Using the wrong type can confuse the charging system and shorten battery life. A compatible lithium replacement like the GROUP 94R LiFePO4 works if your EV lists that group size — always verify dimensions and terminal orientation first.
If you’ve jump-started and the battery still holds a charge but dies after a few days, have the DC-DC converter inspected — a failed converter won’t charge the 12V battery even while driving.

EV owner and automotive writer with 8+ years of hands-on experience across Tesla, Hyundai, Ford, and Nissan EV platforms. Former automotive technician. Certified in high-voltage system safety (Level 2). When not diagnosing charge port faults or testing range in cold weather, I’m helping other EV owners skip the dealer trip and fix problems themselves.