
Brake light switch repair: Symptoms, Causes & Quick Fix
If your EV dashboard shows a “Check Brake Lights” warning or lights up the brake system icon, a faulty brake light switch is a likely suspect. This small plastic component tells the car when you press the pedal — it controls the brake lights, signals the regenerative braking system to reduce power, and disengages cruise control. You can still drive, but operating without working brake lights is illegal and a safety hazard. Start with a simple test: have a helper watch the rear lights while you press the pedal. If they don’t come on (or stay on continuously), it’s time to investigate.
Early Checks: Rule Out the Easy Stuff First
Before ordering a new switch, verify the problem is actually the switch — not a blown bulb, bad fuse, or a weak 12V battery (which can cause erratic sensor behavior in many EVs).
Check the bulbs
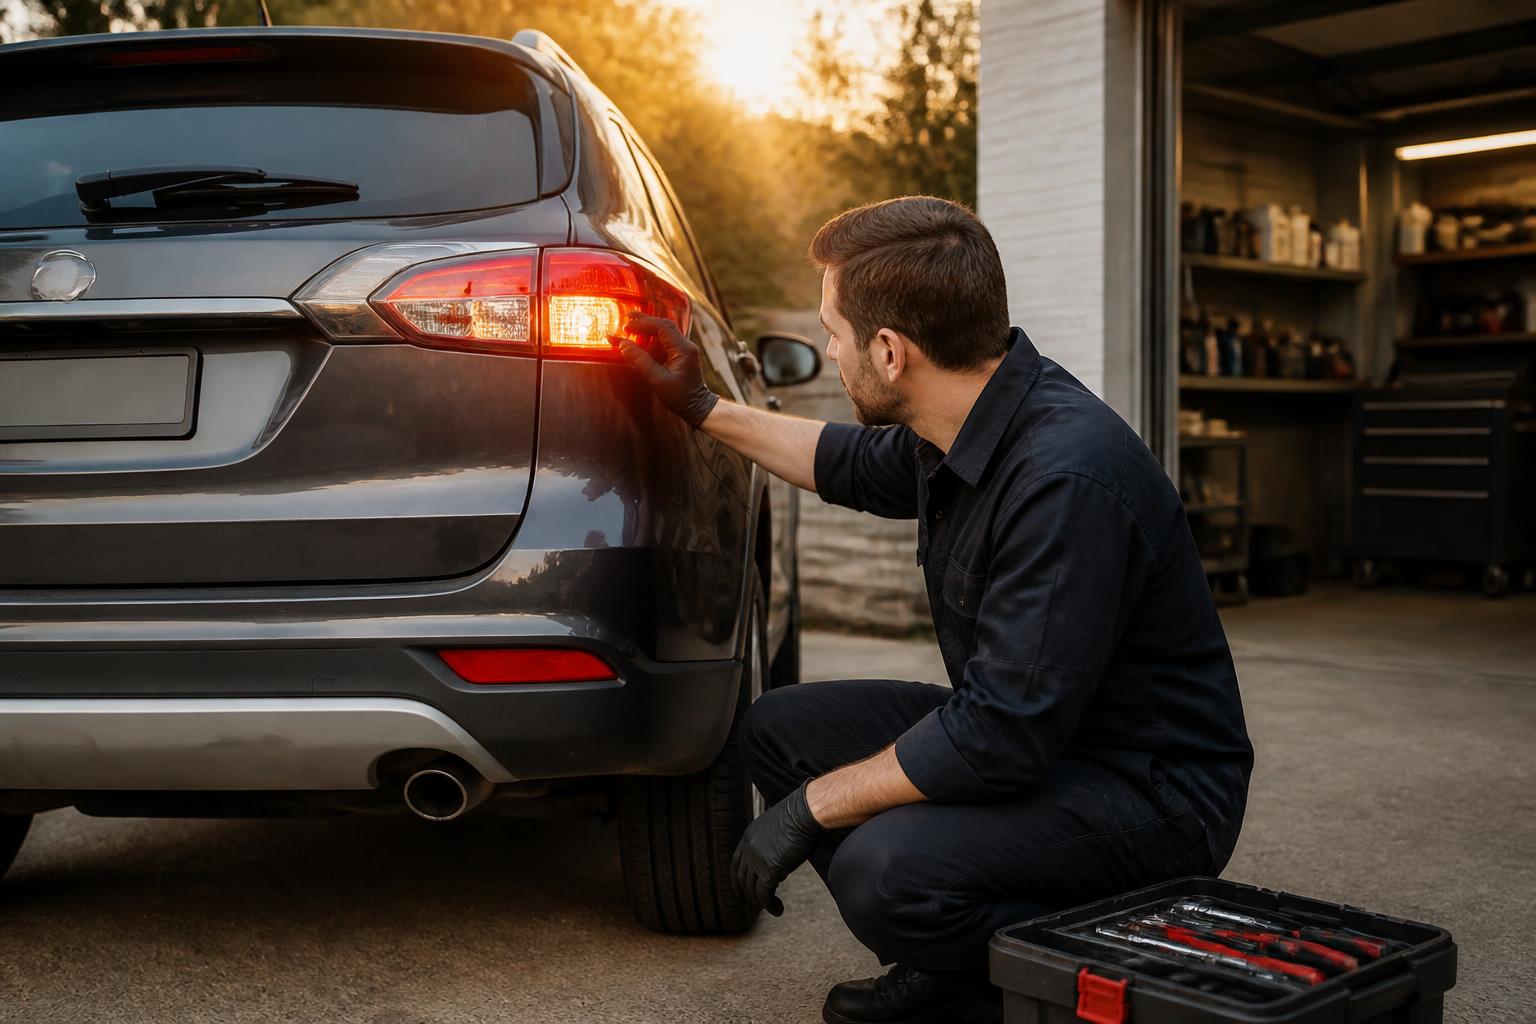
Remove the tail light assembly (refer to your owner’s manual) and inspect the brake light bulbs for a broken filament or dark glass. Replace any that look burnt out.
Check the fuse
Locate the brake light fuse in your EV’s fuse box (usually under the dash or in the frunk). Use a multimeter to test for continuity. If the fuse is blown, replace it with the same amperage rating — but also investigate why it blew (a shorted switch can blow fuses repeatedly).
Check the 12V battery condition
Many EV brake light switches run on the 12V auxiliary battery. A battery below about 12.4V at rest can cause the switch to register incorrectly. Use a multimeter or a battery tester. If the tester shows “Unable to rate,” the battery is likely too low (below ~12.0V) or still carrying surface charge after charging. Charge the battery fully, then retest. A chronically weak 12V battery can mimic switch failure — and ignoring it will cause repeat switch issues even after replacement.
Common Causes of Brake Light Switch Failure in EVs
Brake light switches fail from physical wear, corrosion, or electrical issues. In EVs, the switch is often part of a larger pedal sensor assembly that also communicates pedal position to the motor controller.
- Worn plastic tabs – The switch’s internal plunger or locking tab can break after years of use.
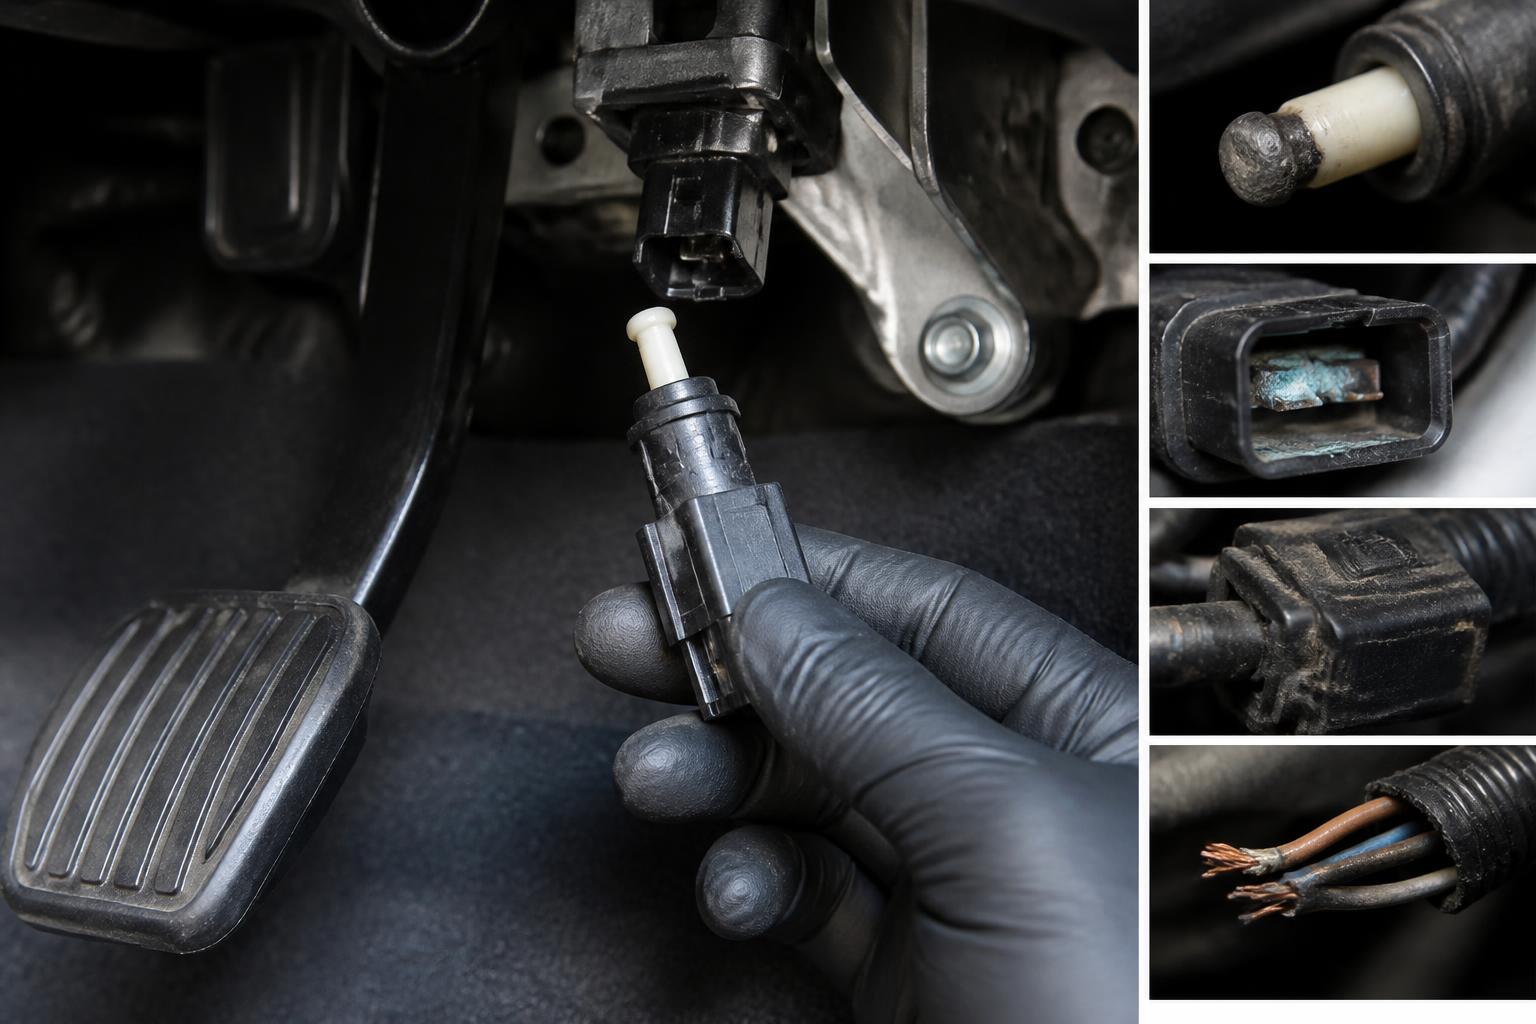
- Moisture or corrosion – Water can enter the connector, especially if the switch sits near the pedal arm in an open area.
- Misaligned pedal – After floor mat installation or pedal replacement, the switch may not be fully depressed when released.
- 12V system voltage dips – Low voltage can cause the switch to “stick” open or closed. This is more common in EVs that sit for long periods without a charge.
Decision point: Warranty coverage vs. DIY
If your EV is still under the original bumper-to-bumper warranty, stop here and schedule a dealer visit. Replacing the switch yourself could void coverage for the switch and related brake system components if something goes wrong. For out-of-warranty or older vehicles, DIY is a reasonable next step — but only if your model allows it. Some newer EVs (e.g., Tesla Model 3/Y after 2021, certain Ford Mustang Mach-E trims) use a hall-effect brake pedal sensor that requires dealer calibration after replacement. A simple mechanical switch swap won’t work, and forcing it can trigger persistent error codes. Check your service manual or an online forum specific to your model year before buying parts.
Before You Buy a New Switch: What Your EV Actually Needs
Verification step: Confirm the switch type
Look up the brake pedal sensor design for your exact EV model and year. On many older EVs (e.g., Nissan Leaf 2011–2017, BMW i3), it’s a straightforward plunger switch that twists out. On others, the brake pedal position sensor is integrated with the brake light switch and sends a variable signal to the motor controller — not just an on/off signal. Installing a generic aftermarket switch on these models can cause the car to ignore the signal entirely, leaving you with no brake lights and a persistent warning.
Mismatch warning: Aftermarket vs. OEM
An aftermarket switch that costs $10–$15 may physically fit, but its internal resistance or voltage thresholds can differ from the OEM spec. In one common scenario on the Chevrolet Bolt EV (2017–2022), a non-OEM switch caused the brake lights to flash intermittently and triggered a “Service Brake Assist” message on the dash. The car’s computer detected an out-of-range signal and disabled regenerative braking until the correct part was installed. OEM switches run $25–$45 and include the proper calibration data. For most EVs, paying the extra $15–$20 prevents repeat headaches.
Practical implication
If your EV uses a hall-effect pedal sensor (common on 2020+ model years), you can still replace the switch yourself on some models by following a specific relearn procedure — often a series of pedal presses with the ignition on. But if your manual doesn’t document that procedure, the only safe path is a dealer or independent shop with the proper scan tool. Buying a switch before checking this will leave you with a part you can’t use.
How to Replace the Brake Light Switch (DIY Steps)
The job takes about 30 minutes with basic hand tools. Exact steps vary by model, so always consult your vehicle’s service manual first.
1. Disconnect the 12V battery negative terminal – This prevents accidental short circuits while working near the pedal area.
2. Locate the switch – Look above the brake pedal arm, near the pivot point. It’s a small plastic box with a plunger that contacts the pedal arm.
3. Remove the old switch – Most switches twist a quarter-turn to release, then pull straight out. Some are held by a small clip. Unplug the electrical connector.
4. Install the new switch – Push the new switch into the bracket until it clicks. Reconnect the connector.
5. Adjust the switch (if required) – Some switches have an adjustable plunger that must be set so the brake lights turn off when the pedal is fully released. The manual will specify the correct gap or procedure.
6. Reconnect the battery and test – Press the pedal and check the lights. Also test that the lights turn off when you release the pedal. If they stay on, repeat the adjustment.
Success check
After installation, the brake lights should turn on when the pedal is pressed about 1/2 inch, and turn off completely when the pedal is released. If they flicker or stay on, the adjustment is wrong or the switch is incompatible. Also check that cruise control re-engages and regen braking feels normal during your first drive.
Red Flags: When to Stop DIY and Call a Pro
- Warning stays on after replacement – The problem may be a wiring fault, a blown body control module, or a software glitch. Some EVs require module calibration after switch replacement.
- You see error codes related to the brake system controller – These often require a dealer scan tool to diagnose.
- The brake pedal feels soft or sinks to the floor – This indicates a hydraulic brake problem, not a switch issue. Do not drive the car.
- You’re not comfortable working near the brake pedal – The area is cramped and mistakes could interfere with pedal travel. If in doubt, let a mechanic handle it.
- Your EV produces a “Cruise Control Unavailable” warning after the swap – This often means the switch isn’t sending the correct signal for the pedal position sensor, even if the brake lights work.
Brake Light Switch Troubleshooting Checklist
Use this checklist to decide your next action:
- [ ] Brake lights fail to come on when pedal is pressed
- [ ] Brake lights stay on constantly (even with pedal released)
- [ ] Dashboard shows “Check Brake Lights” or “Service Brake Assist” warning
- [ ] 12V battery reads below 12.4V or tester shows error
- [ ] Brake pedal feels normal (not spongy or sinking)
- [ ] Vehicle is out of warranty, and you’ve confirmed the switch type matches your model year
- [ ] You have the correct OEM or equivalent part ready
If you check “yes” for the first three items and the last three “yes,” replacing the switch is a safe next step. If the 12V battery is weak, charge it first and retest. If the pedal feels wrong, stop and call a professional. If you’re unsure about switch compatibility, search your model’s forum for “brake light switch replacement [year]” before buying anything.
Start with the simple bulb/fuse/battery checks, then move to the switch. Most brake light switch repairs are straightforward and will get your EV back to full safety in under an hour — as long as you pick the right part for your specific car.

EV owner and automotive writer with 8+ years of hands-on experience across Tesla, Hyundai, Ford, and Nissan EV platforms. Former automotive technician. Certified in high-voltage system safety (Level 2). When not diagnosing charge port faults or testing range in cold weather, I’m helping other EV owners skip the dealer trip and fix problems themselves.